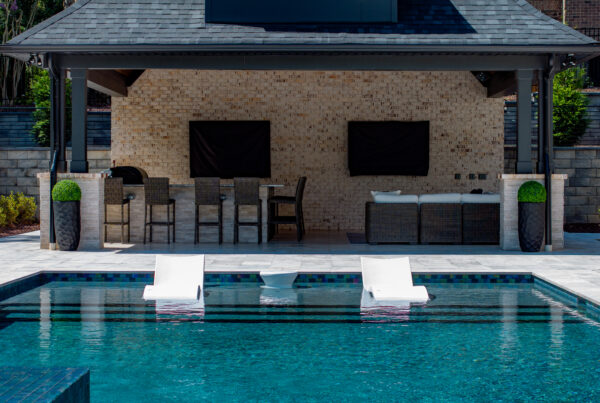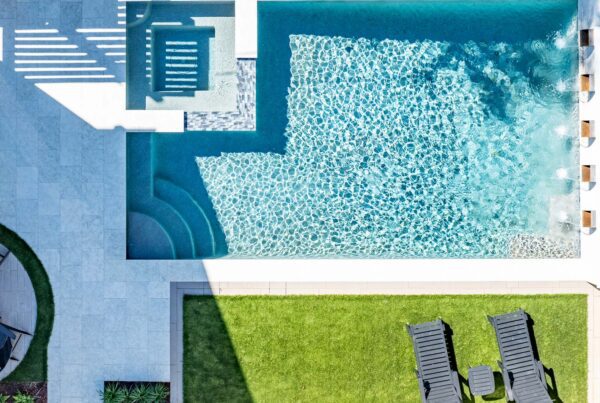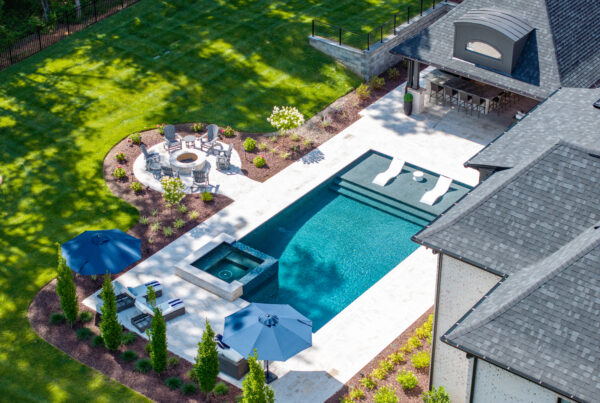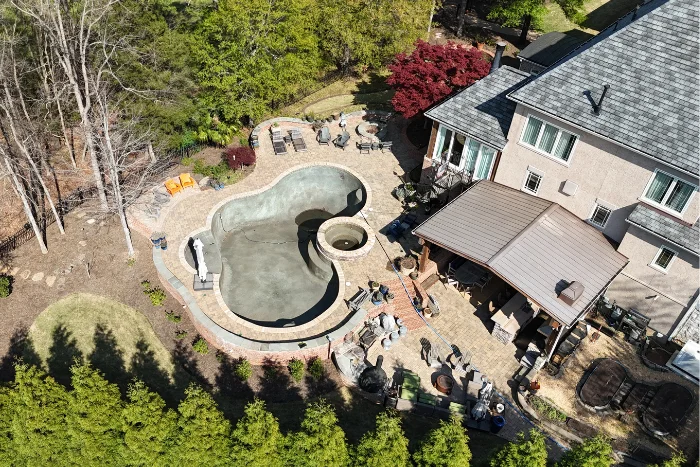
Building a custom in-ground pool is one of the most transformative home improvement projects a homeowner in the Charlotte metro area can undertake. A luxury swimming pool does more than increase property value; it creates a dedicated outdoor oasis for relaxation, family gatherings, and year-round entertainment. However, for many homeowners, entering the pool construction process without a clear roadmap can feel overwhelming. Questions about timelines, permitting delays, excavation, and trade coordination often surface early in the planning phase.
Understanding the step-by-step pool construction schedule is essential for establishing realistic expectations, managing household logistics, and ensuring a smooth, stress-free experience. When working with a full-service design-build contractor like MetroGreenscape—with over 25 years of local Charlotte expertise, 24 industry awards, and more than 260 five-star reviews—a custom concrete (gunite) pool project is executed through a streamlined, transparent 10-to-12-week (typically 3-month) process.
Below is a detailed week-by-week guide outlining what happens during each phase of a 10-week custom pool build timeline, from your initial consultation to the day of your first splash.
Phase 1: Planning, Design, and Engineering (Weeks 1–4)
Before heavy equipment touches your backyard, thorough groundwork must be laid on paper and through local administrative channels. The planning phase ensures that your custom pool design is structurally sound, legally compliant, and perfectly aligned with your property’s topography and your personal budget.
Week 1: Initial On-Site Consultation and Property Assessment
The journey begins with an in-depth, on-site consultation. A pool design specialist visits your home to walk your property, evaluate backyard dimensions, and assess critical site conditions:
Soil and Elevation: Evaluating ground slopes, grading requirements, and regional clay soil composition.
Access Points: Identifying pathways for excavation equipment and utility access.
Sun Exposure and Orientations: Determining optimal pool placement to maximize natural sunlight and complement existing home architecture.
Lifestyle and Budget Alignment: Discussing your specific goals—whether you desire an integrated spa, tanning ledges, waterfalls, custom lighting, or expansive surrounding hardscapes.
Week 2: 3D Architectural Design and Cost Proposal
Once site parameters are documented, the design team translates your vision into photorealistic 3D virtual renderings. Rather than relying on two-dimensional blueprints, 3D modeling allows you to visualize how your pool, patio pavers, outdoor kitchen, and landscaping will look from your back porch.
During this week, you review the complete design, select high-end finish materials (such as plaster colors, glass tile, and natural coping stone), and evaluate an itemized investment proposal. Once the design and contract are approved, engineering plans are finalized.
Weeks 3–4: Permitting, HOA Approvals, and Structural Engineering
Navigating local municipal approvals is one of the most critical steps in the build timeline. A turnkey pool contractor manages all administrative logistics on your behalf:
Engineering Drawings: Stamping structural plans to meet North Carolina building codes.
HOA Architectural Review: Preparing detailed submittal packages, elevation drawings, and material samples to secure HOA approval in Charlotte, Mecklenburg County, or surrounding municipalities.
Municipal Permits: Submitting applications for building, electrical, plumbing, and zoning permits.
Utility Markings: Coordinating with local utility locators (811) to identify underground gas, electric, water, and fiber-optic lines before excavation begins.
Phase 2: Excavation and Structural Shell Construction (Weeks 5–6)
With permits in hand and utility lines marked, physical construction begins in your backyard. This phase represents the most dramatic visual transformation of your property.
Week 5: Groundbreaking and Precision Excavation
The construction team arrives on-site with heavy machinery to mark the pool contour on the ground and begin digging.
Formwork Setup: Wood forms are set up along the perimeter to define the exact shape, depth, and layout of the pool and integrated features like sun shelves or benches.
Earthmoving: Specialized excavators dig the pool cavity to precise depths, hauling away excess soil while reserving necessary fill for subsequent grading.
Gravel Base: Heavy aggregate gravel is placed at the bottom of the excavation pit to provide a stable, well-draining sub-base.
Week 6: Steel Rebar Cage and Gunite (Concrete) Application
To ensure decades of structural integrity in Charlotte’s soil environment, concrete pools utilize a rigid steel matrix reinforced with pneumatic concrete.
Steel Rebar Grid: Craftsmen tie a dense grid of steel reinforcement bars (rebar) throughout the entire pool floor and walls. This steel skeleton gives the concrete structural flexural strength.
Gunite/Shotcrete Spraying: A specialized crew pneumatically applies a high-strength concrete mixture over the steel cage under intense pressure.
Hand-Sculpting: Skilled masons hand-trowel and carve the wet concrete to form crisp pool walls, steps, tanning ledges, spa spillways, and bench seating.
Curing Period: The thick concrete shell must cure properly, often requiring daily water misting to ensure optimal hydraulic strength and durability.
Phase 3: Mechanicals, Decking, and Custom Masonry (Weeks 7–8)
Once the structural shell has achieved proper cure strength, the project transitions into trade integration and hardscaping.
Week 7: Plumbing, Electrical, and Utility Rough-Ins
During Week 7, certified plumbers and electricians install the underlying infrastructure that operates your pool’s filtration, heating, and water circulation systems:
Hydraulic Piping: Installing high-efficiency PVC plumbing for main drains, skimmers, return jets, spa jets, and decorative water features (such as waterfalls or deck jets).
Electrical Runs: Laying conduit for LED pool lighting, pump motors, automated control panels, and salt-water chlorination or ozone sanitation equipment.
Equipment Pad Setup: Mounting energy-efficient variable-speed pumps, filters, heaters, and smart automation modules on a concrete pad near the utility area.
Rough Inspections: Local municipal inspectors review open plumbing and electrical trenches to verify code compliance.
Week 8: Tile, Coping, and Surrounding Hardscape Installation
With underground utilities inspected and backfilled, masons and hardscape crews elevate the aesthetic appeal of the pool zone:
Waterline Tile: Hand-tiling the 6-inch perimeter waterline with durable porcelain or glass tiles that protect the plaster and ease cleaning.
Pool Coping: Laying premium natural stone, travertine, or concrete coping around the pool edge to create a smooth, safe transition to the deck.
Decking & Patio Hardscaping: Installing surrounding pavers, bluestone, or travertine patios to create expansive space for poolside lounging, dining, and outdoor kitchens.
Phase 4: Interior Finishes, Water Fill, and Commissioning (Weeks 9–10)
The final phase transforms the raw construction site into a crystal-clear, functional aquatic retreat.
Week 9: Interior Finish Application and Custom Add-Ons
The interior of a concrete pool requires a specialized waterproof finish to seal the shell and establish the water’s color hue:
Surface Preparation: Acid-washing and cleaning the gunite shell to prepare it for smooth finish adhesion.
Plaster or Pebble Finish Application: Applying a high-grade interior finish—such as smooth quartz plaster or pebble aggregate—by hand trowel across the entire pool basin.
Final Landscaping: Completing perimeter grading, sod installation, drainage systems, and landscape planting to integrate the pool into your backyard.
Week 10: Pool Filling, Chemical Balancing, and First Month Maintenance
Immediately following interior finish application, the pool must be filled continuously with water to ensure even curing under pressure.
Water Filling: Filling the pool to the midpoint of the waterline tile.
Equipment Start-Up (Commissioning): Priming pumps, starting filtration, setting timers, and calibrating heating and automated control systems.
Chemical Balancing: Dosing the water with precise balances of chlorine/salt, pH adjusters, alkalinity, and calcium hardness to protect the new interior finish and guarantee safe swimming conditions.
First Month of Maintenance: Turnkey builders handle initial pool brushing and water chemistry monitoring during the critical first month post-fill.
Final Walkthrough: Demonstrating smart equipment controls, reviewing warranty documentation, and officially handing over your new backyard oasis.
Conclusion: Partnering with a Turnkey Pool Builder in Charlotte
A 10-week pool build timeline represents a structured, carefully orchestrated sequence of trade disciplines. While weather conditions or complex site engineering can occasionally shift schedules, partnering with an experienced design-build firm ensures that your project moves efficiently from 3D concept to completion without unnecessary delays.
By choosing a dedicated local builder like MetroGreenscape, Charlotte homeowners enjoy total peace of mind knowing that design, permitting, excavation, concrete masonry, utility hookups, landscaping, and initial maintenance are seamlessly managed under a single contract.
Ready to transform your backyard into a luxury retreat? Contact MetroGreenscape today to schedule your free on-site consultation and start your 10-week journey from blueprint to first splash.